Warning: Use of undefined constant integer - assumed 'integer' (this will throw an Error in a future version of PHP) in /home/tviwmu23tugy/domains/tamiyaegress.com/html/wp-content/themes/Egress/archive.php on line 11

Archive for January, 2011


30 Jan
2011

The Rear Gearbox – Time to get my hands dirty!

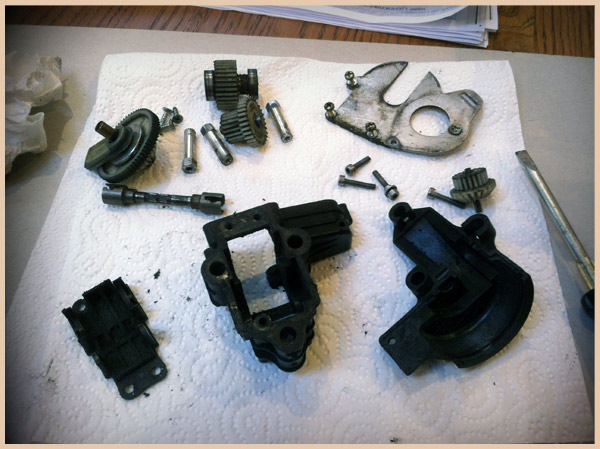
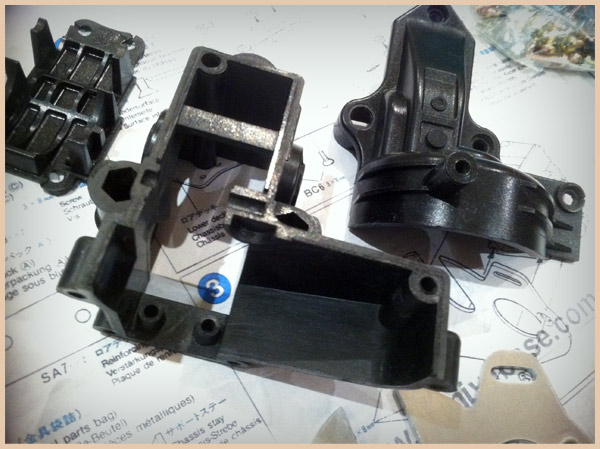
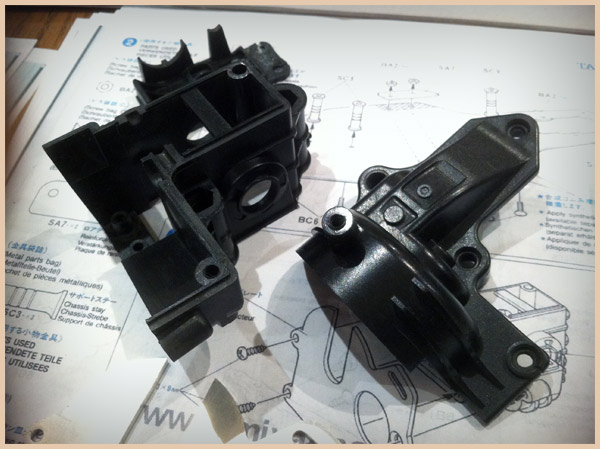
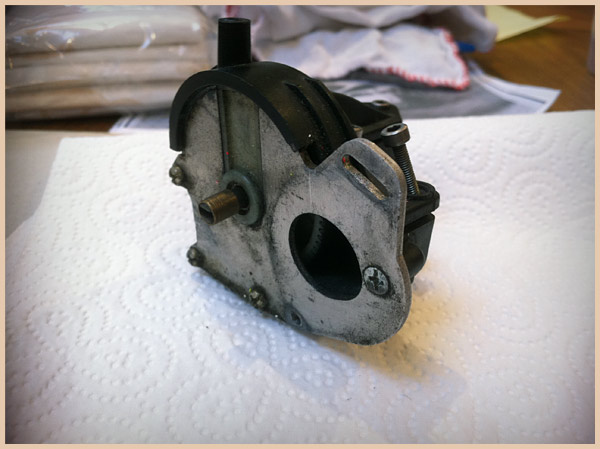
Initially I was going to be a big girl and not strip the gearboxes down, but then thought to myself that, that wouldn’t really fit the bill on a full restoration, so I dove in head first!  Initially I just stripped the gears out and started to work on the casing.  It was thick in over 20 years worth of grease, oil and general crap, so I knew that this would need some serious effort to bring back to new.

First off I used a load of WD40 to breakdown the grease on the casing, inside and out.  With the WD40 doing the hard work upfront, I then got a red hot bucket of water at the ready and new bottle of the world’s greatest de-greaser…fairy liquid.  Why Fairy?  Well, back in my biker days a mechanic once told me that the best way to clean and de-grease a messy bike chain was to use a mix of fairy and WD40.  This technique saw me good for many years, and I knew it’d work here too.

So after 15 minutes hard scrubbing, the casing was gleaming like new.  Magic.  Coupled with the loooooovely new motor plate I’d picked up (yes more spending) it was looking beautiful.

Now onto the gears themselves.

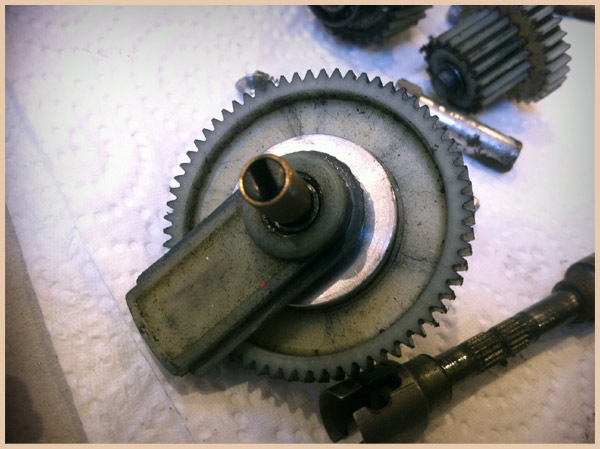
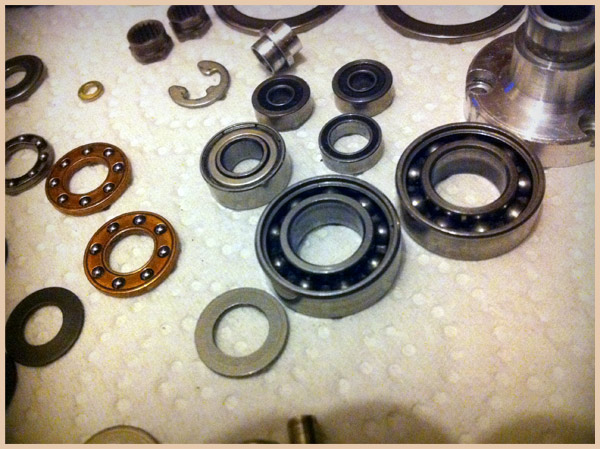
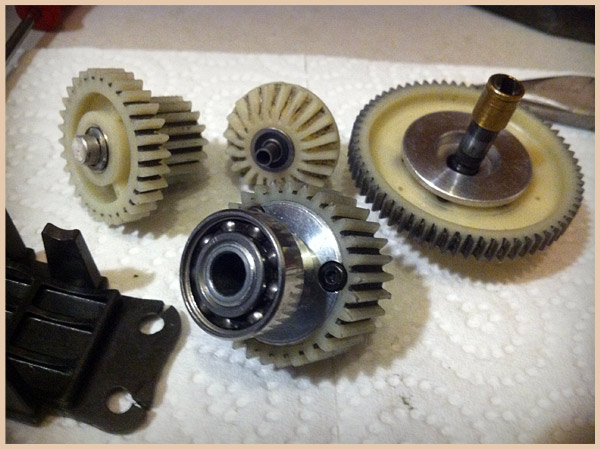
As you’d expect, more than 20 years of grease and dirt is going to be pretty messy, so there were no surprises here (or where there? Find out more on that later in the post).  I pulled every bit apart and treated it a good long soak in a bath of WD40, followed by a toothbrush clean up and dry off.

The bearings now move like silk and everything is nice and shiny.  All ready for re-building, re-greasing and dropping back in.

So, out comes the Egress manual.  Everything is going back together as expected.  But hold on, what’s this? The drive gear parts I have don’t match up to the instructions? What the hell?

25 Jan
2011

Rear Stabiliser and Mount

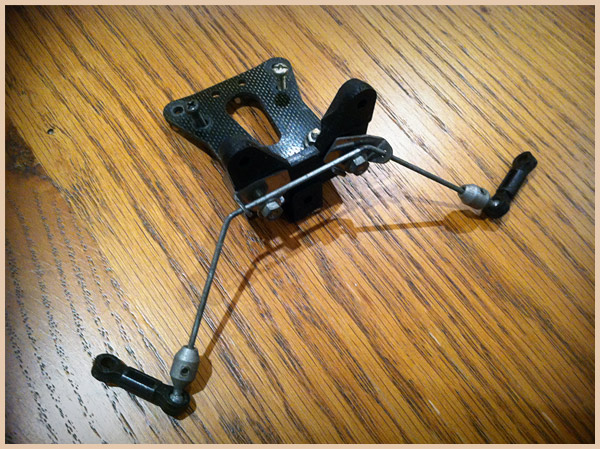
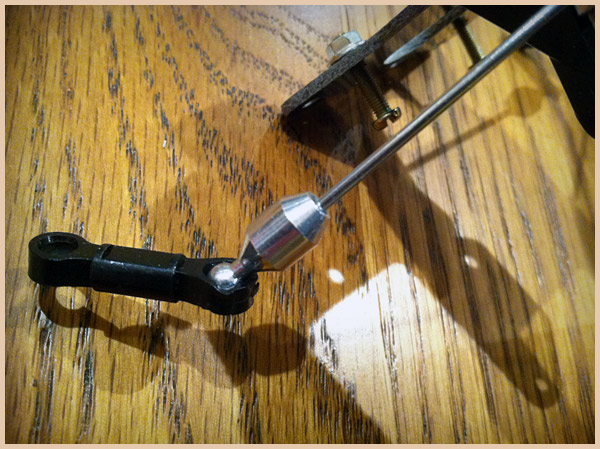
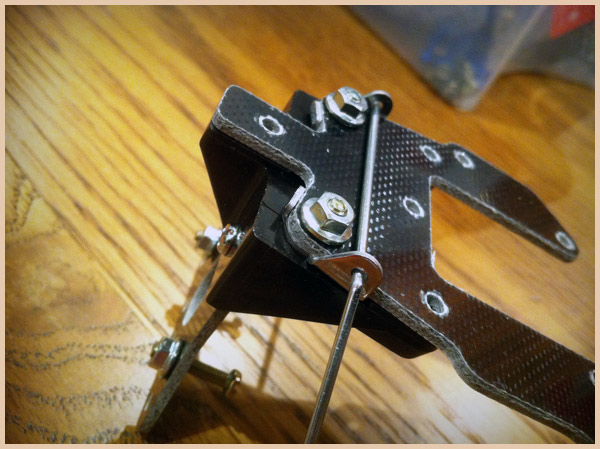
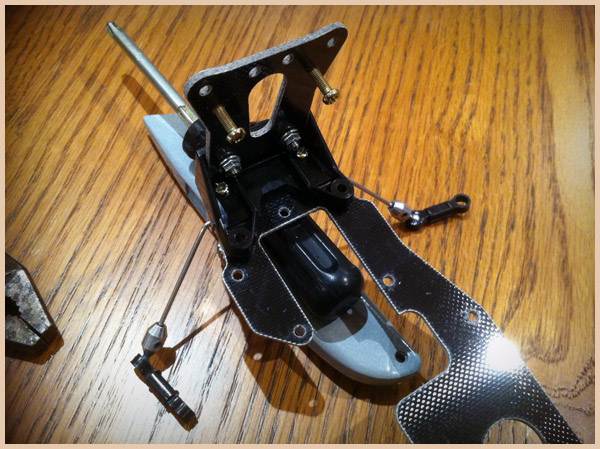
With my new rear carbon mount in hand, it was time to clean up the stabiliser parts and get that looking nice and new.  I pulled this section apart, grabbed the Peek (http://www.tripeek.com/) and started cleaning and polishing.  Man I love Peak, that stuff is the shit.  Just look at the photos below, beeeeautiful.

Shiiiiiiiney, mmmmmm, nice!

Mounted on the fresh new upper chassis deck, this is looking real nice!

In all its glory…man this car is going to be one shiny puppy when she’s done :)

22 Jan
2011

New Chassis…Grrrr

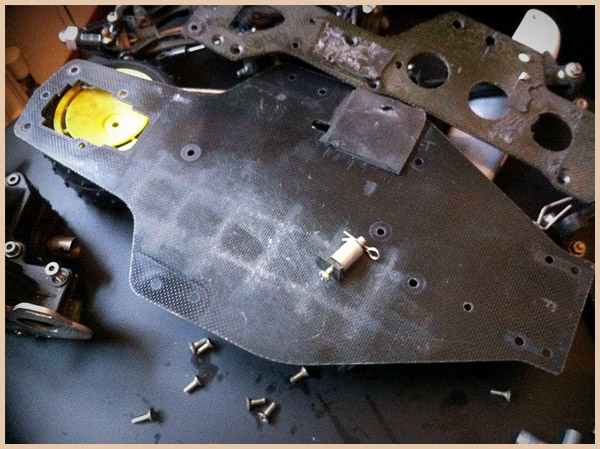
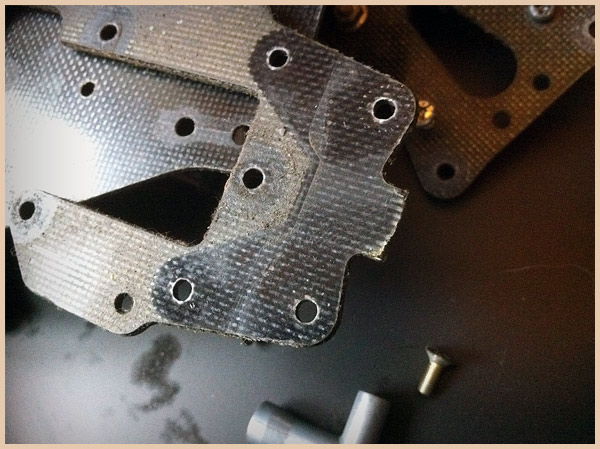
Yep the chassis is in a right old state.  All those years of racing, dirt, grit, oil and abuse have left it rather tattered.  And worst still, the end tip where the under-cowl mount connects to, its snapped.  Arse.

A solid clean up did little to lift it, so I’ve caved in and bought a new one.  Top and bottom pieces, brand new, £25 delivered.  Steep?  Not sure, but damn they look pretty.  Add to this the big Egress parts auction I won, including carbon bits, I’m staring at some lovely new pieces to build this baby back up.  And yes, she’s turning into a veritable money pit…but boy is it fun!!!

20 Jan
2011

A Madcap? What the hell is that doing here?

Yep you read it right, there is a Madcap in our midst.  ‘Why?’ I hear you ask, well, there’s a good story here.  I was again browsing eBay, when low and behold there before sat a mint, restored, unpainted Madcap with ‘upgraded wheels’…HOLY SHIT, not just upgraded wheels, but the bloody Egress wheels and brand new rear tires!!!! Rrrrrresult!  Bought.  The car was for sale for pretty much what the wheels were worth, so it seemed daft not to buy it.  If you’ve read the about page, you’ll know that I used to race a Madcap and fancied getting one again someday, so this was hitting two birds with one stone.  Magic.

16 Jan
2011

Parts Hunt. I’m in Big Trouble!

Now, whomever is reading this will most likely know the Egress, and will be chuckling to themselves after reading my shopping list from the previous post…as that list is like a list of the worlds finest variety of hens teeth.  Yep you guessed it, this car is missing the rarest, and hardest to source parts made for the car.  Arse!

What I have managed to do is win an auction with a bucket load of Egress parts in it. Some I need, some I don’t, but what the hell, it’s been an easy way to grab some fresh pieces.  And after some serious hunting, I fear that some of the previously mentioned parts are going to cost me the earth if and when they arise for sale.

The other major win was the screws.  Most of the ones on this Egress have seen better days, with most of them being totally over tightened and having their heads rounded off.  So rather than spending £10-£15 per screw bag on eBay, I did a little research on the Avante and Vanquish to see which ones had the same screws.  I know, I know, this wouldn’t include titanium ones, but hey, that’s life.  Needless to say, the Vanquish screw bags were about £3 each, so I snapped them all up, only leaving me short of a small handful.

Let’s move on.

15 Jan
2011

The Egress Strip Down

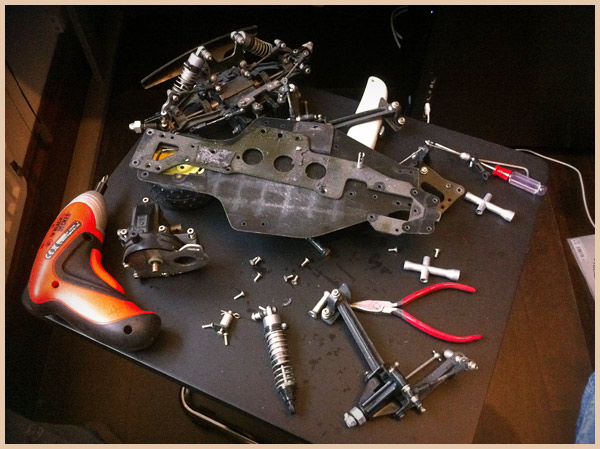
Now it was time to find out just how bad a state this car was really in, it was time to strip her down.
It didnt take long for me to spot the need for some new parts…lots of new parts.
Here’s the immediately obvious requirements:
  • Wheels
  • Tires
  • Blue adjusters
  • Lower front suspension mounts
  • Gold springs
  • Wing mount
  • Possibly a new chassis
Lets start hunting some of these things down, I’ll be back with another update soon.

10 Jan
2011

The Project Car

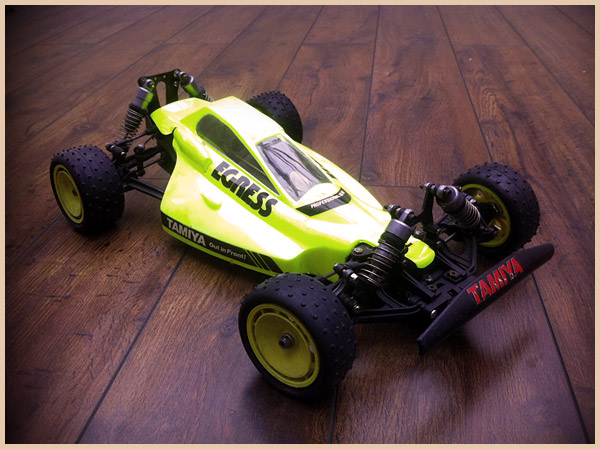
Tamiya Egress in full view

I was browsing the latest additions to eBay one night when low and behold an Egress popped up for sale! The photo’s weren’t too great and you couldn’t see much of the car, but it came with 3 bodyshells and an original Egress bodyshell box.  So without wanting to miss this, I dropped the seller an email to see if he had a buy it now in mind.  Luckily for me, he did and we settled on a price within about 15 minutes of email.  Now it was just a case of waiting for the car to arrive!

A few days later a package arrived at the door (which is always exciting)…it was here!  I scrambled to unpack the box and get to my lifelong dream…my Egress.   Needless to say, the initial impact was rather soul destroying, she was a mess, a very big mess.  I’d prepared myself for this as it was a project car, and priced accordingly, but man, it really was a mess.  She’d been ridden hard, raced hard, crashed hard and well, beaten hard.  And the biggest stinker was…it didnt have its original wheels…nooooooooooooooooooooooo.  My over eager purchase was starting to show signs of being a possible mistake.

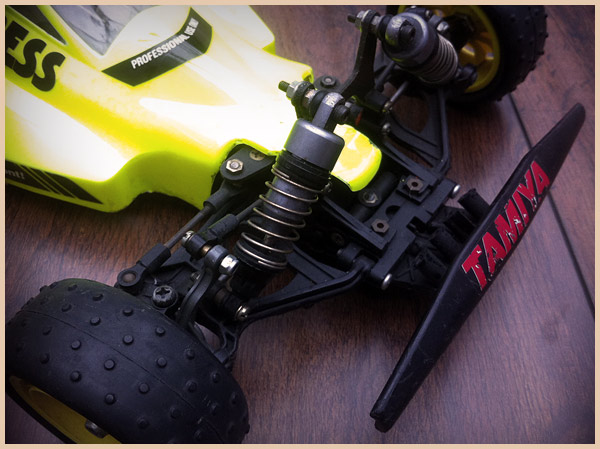
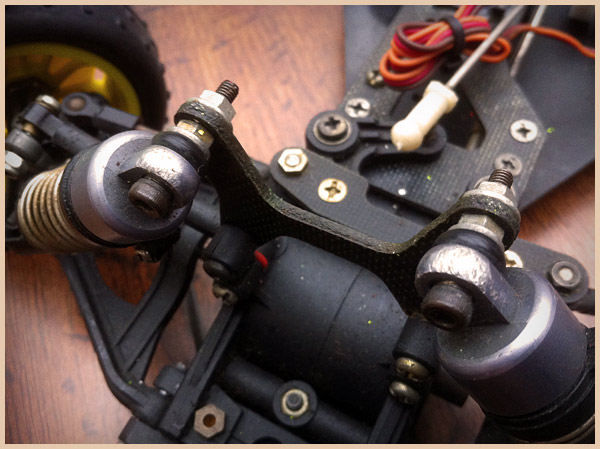
Take a look at the pictures and say hello to the project car! Here she is in all her not so glorious beauty.  Wow, this is going to take some work!