
25 Nov
2013
Hey Everyone,
So between work, and family, starting this has been a challenge…but last night I got a 3hr window all to myself and guess what…the Xbox One got pushed to one side…to make way for the Egress!
What I will say before going any further is WOW, building this puppy is literally a dream come true and you know what, it lives up to my expectations in every way. All in all, across my 3 vintage Egress’s and my 4 Avante 2001’s, you’d think building this chassis would feel boring now right? Not a chance. Building this from new is so unbelievably rewarding its hard to put into words.
Tamiya always do a pretty top job with their kits, but this baby just slots together perfectly, a really masterfully made kit.
Ok, onto the build…
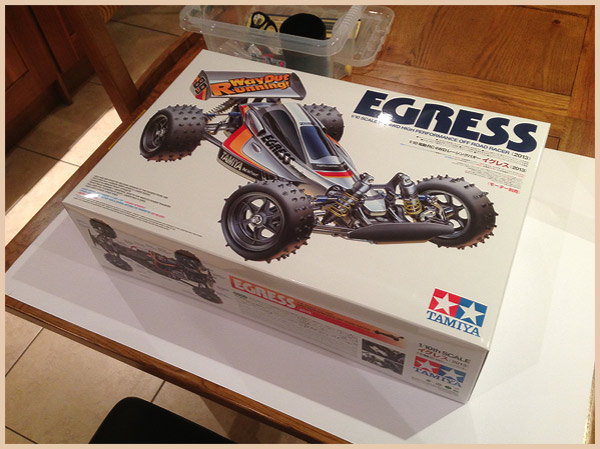
Opening this box is rush, as I’ve been dreaming of opening a NIB Egress for about 25 years now…oh momma!
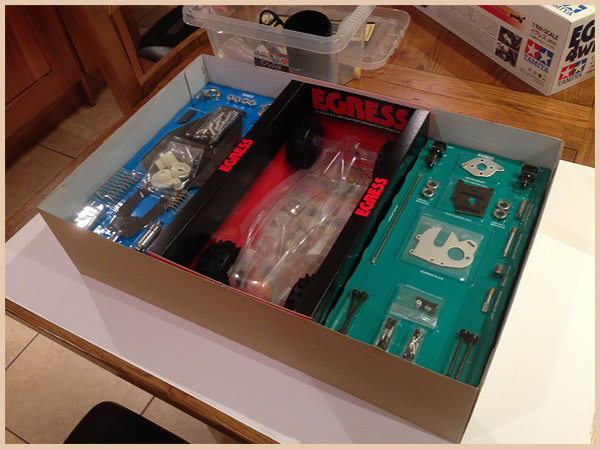
With the box open, it was time to open up those crispy fresh instructions and start building the best RC car that Tamiya ever made!
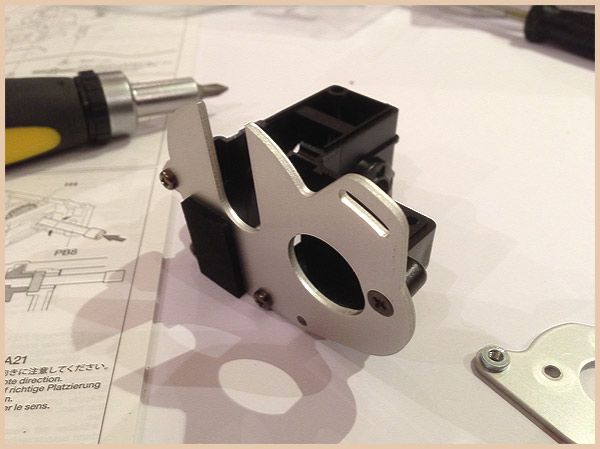
First up was the rear gearbox casing. First thing I noticed were some new screw styles and the addition of the foam padding. If you can find me a classic that’s been run and DOESN’T have any wear in that spot, I’ll be amazed. Nice move Tamiya, these Egress’s will retain shiny gearbox plates forever more!
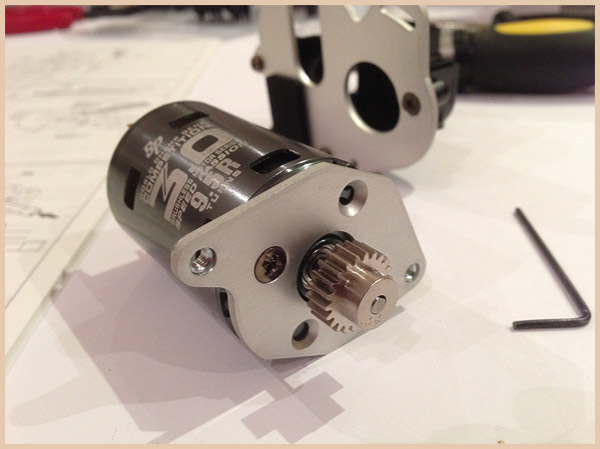
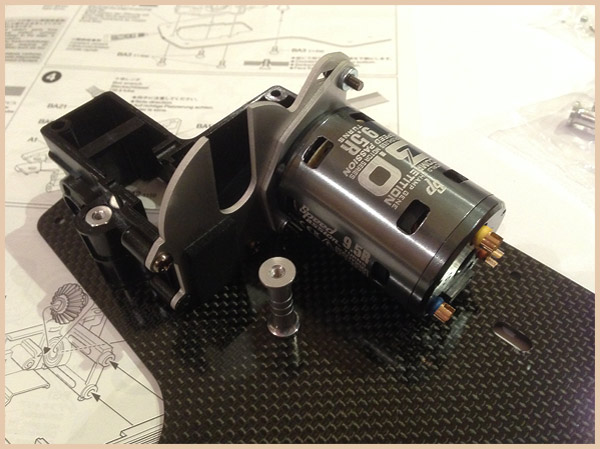
Now, being a daring soul, I decided to go all modern and use a brushless set up for this Egress. I’ve done this mainly for great run times, as I intend to dial back the power on this 9T bad boy as I don’t want to be buying tires after every run or melting my gearbox ;) My Spektrum DX3 has all kinds of settings so I think I can reduce the max power output that way. Oh and yes, idiot here used the wrong screws on the motor mount, I realised this once I’d got a few steps later down. You need the tiny stubby ones here!
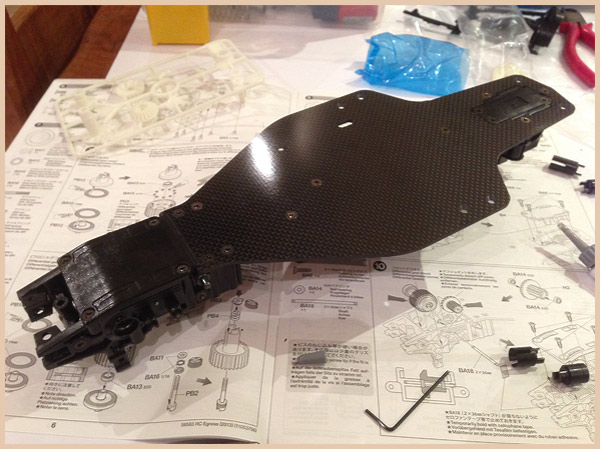
Phwoar! Box fresh carbon chassis! All my vintages have some degree of wear here and there, so seeing a clean, fresh new plate like this was rather special…it’s going to be dirty soon so I’m going to enjoy this while I can! Again, everything is slotting/screwing together like a charm. Top job Tamiya!
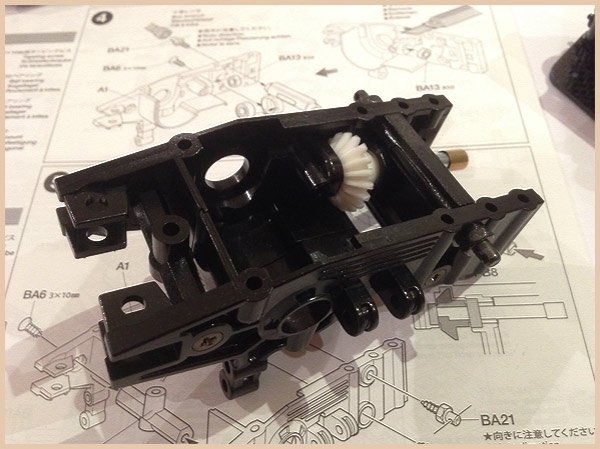
Onto the front gearbox, nothing new to report here, but again, its damn nice to be building this from scratch and not soaking each of these pieces and scrubbing them clean ;)

Mounting the front geabox was a dream, nice and easy. Its already looking sexy!

Front diff together. If you’re new to building cars like this, here’s one HANDY tip. Make sure you put a nice fat blob of diff grease in the whole where each tiny bearing is to be dropped in…why?…well, you ARE going to drop one, or two, or three while doing this, so it makes life a lot easier if there is a blob of grease in place to catch them as they drop. Also, make sure you have a clear open space when doing this bit, as when a ball bearing brakes loose, its near impossible to find if your build space isn’t super clean.
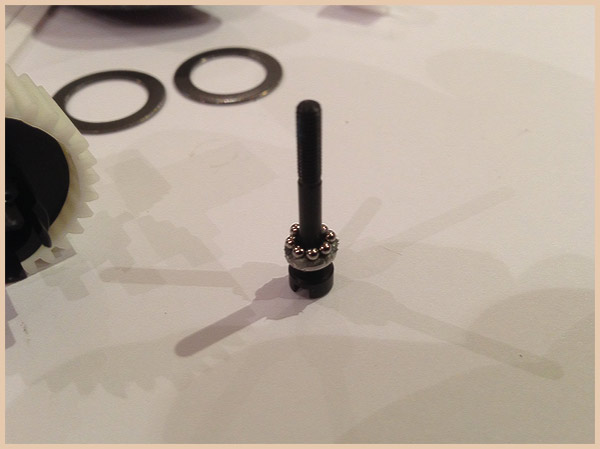
Now, this bit is a seriously intricate bit. These bearings look big right? Wrong, I’m zoomed in. These little spawns of Satan are crumb sized. Drop one and its gone forever. The end.
Tamiya advises you to put some anti-wear grease on the washer…sod that…pile it on! You need a good thick cushion of the stuff as if you have even remotely adult hands/fingers, you can barely feel these bearings, never mind skilfully guide where they are going. Slap a load of grease on, and drop each one on. Once all on, use a toothpick to adjust their positioning. And once that’s done, slap some more grease on the underside of the top washer and make a bearing sandwich. Just be careful that none of the bearings push out as you squeeze the two washers together. I then used my finger to smooth the excess grease around the bearings for an additional level of security.
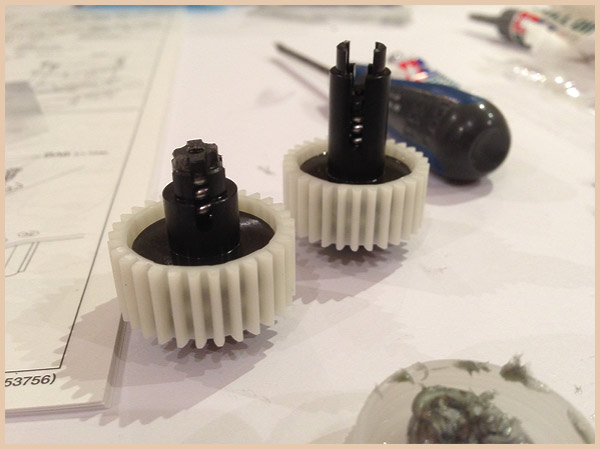
Both front and back diffs together. They just need tightening to finish.
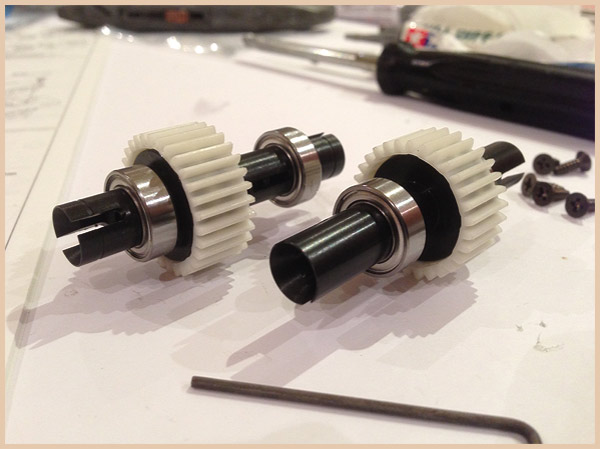
Awwww what a lovely couple. The two finished diff’s all built and complete. These are quite different from the vintage diff’s, almost all the parts bar the plastic gears are new, but man, they feel like they are made from adamantium, so I doubt they’re going to wear any time soon.
I know this sounds sad, but seeing a minty fresh rear gearbox enclosure like this is heart-warming. You beauty.
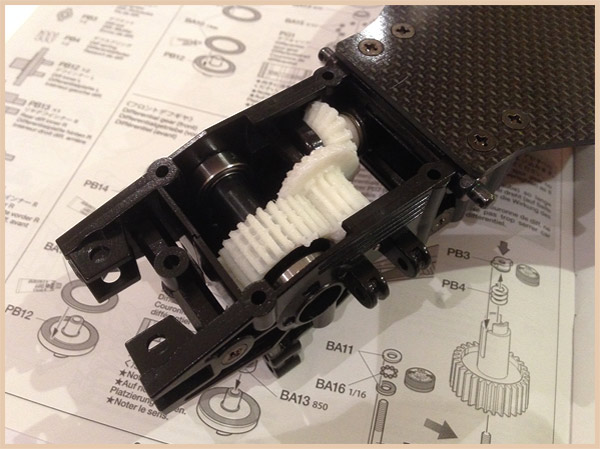
And the same again at the front. And yes, I went to town on the grease as I’m going brushless…I don’t want to melt these little lovelies.
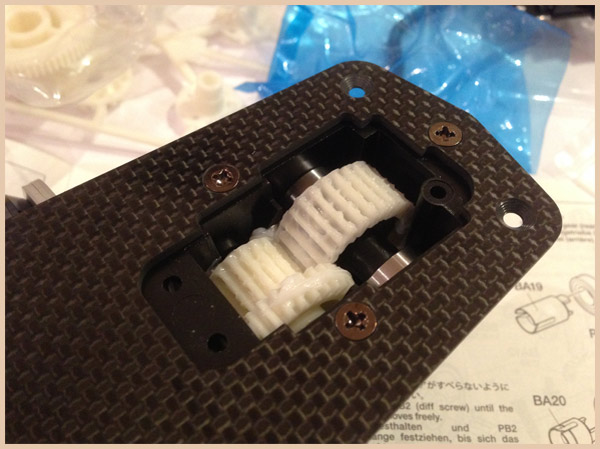
And the last step for tonight is closing those finalised gearboxes. Another thing worth mentioning is how perfectly the plastics are cast. That rear gearbox plate just dropped in place to a perfectly snug fit. Serious quality.
More to come tomorrow!
Mike.