25 Nov
2013
Hey Everyone,
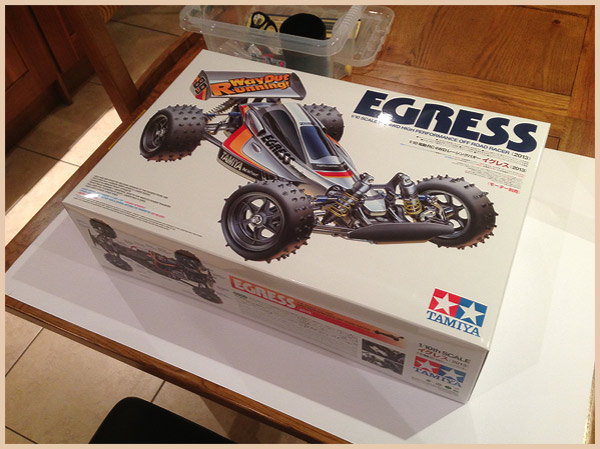
So between work, and family, starting this has been a challenge…but last night I got a 3hr window all to myself and guess what…the Xbox One got pushed to one side…to make way for the Egress!
What I will say before going any further is WOW, building this puppy is literally a dream come true and you know what, it lives up to my expectations in every way. All in all, across my 3 vintage Egress’s and my 4 Avante 2001’s, you’d think building this chassis would feel boring now right? Not a chance. Building this from new is so unbelievably rewarding its hard to put into words.
Tamiya always do a pretty top job with their kits, but this baby just slots together perfectly, a really masterfully made kit.
Ok, onto the build…
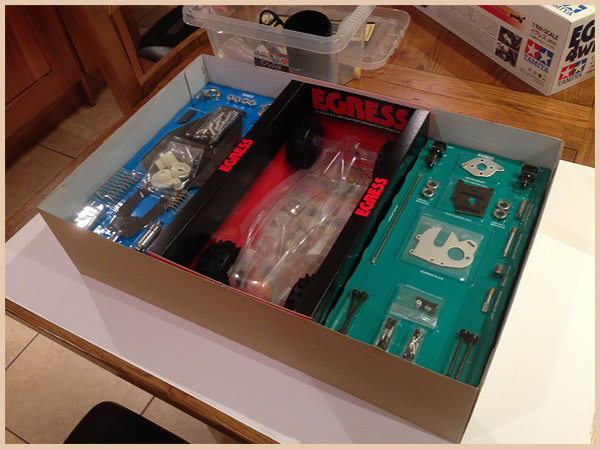
Opening this box is rush, as I’ve been dreaming of opening a NIB Egress for about 25 years now…oh momma!
With the box open, it was time to open up those crispy fresh instructions and start building the best RC car that Tamiya ever made!
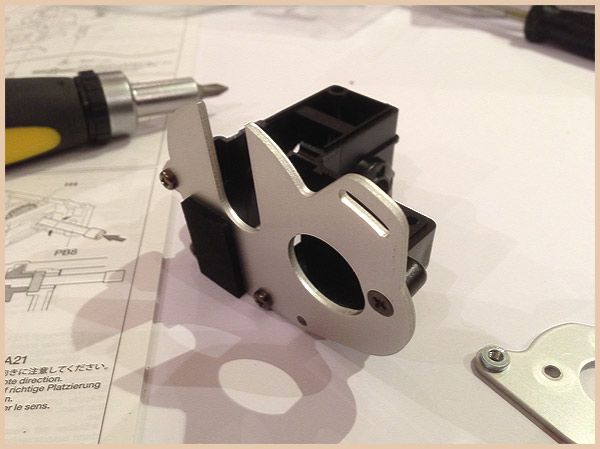
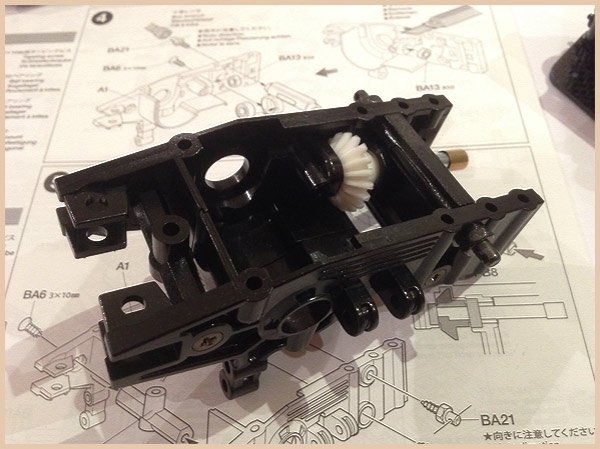
First up was the rear gearbox casing. First thing I noticed were some new screw styles and the addition of the foam padding. If you can find me a classic that’s been run and DOESN’T have any wear in that spot, I’ll be amazed. Nice move Tamiya, these Egress’s will retain shiny gearbox plates forever more!
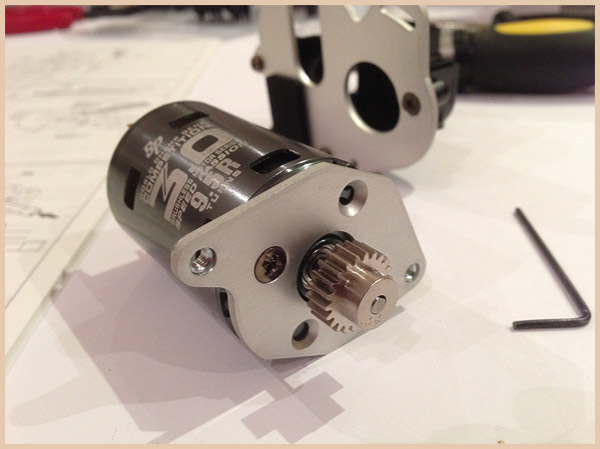
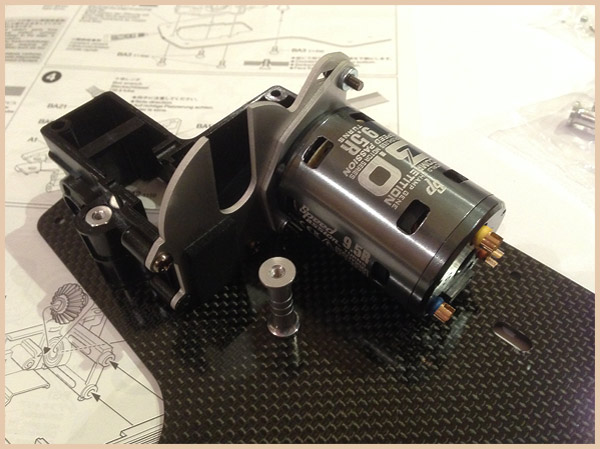
Now, being a daring soul, I decided to go all modern and use a brushless set up for this Egress. I’ve done this mainly for great run times, as I intend to dial back the power on this 9T bad boy as I don’t want to be buying tires after every run or melting my gearbox ;) My Spektrum DX3 has all kinds of settings so I think I can reduce the max power output that way. Oh and yes, idiot here used the wrong screws on the motor mount, I realised this once I’d got a few steps later down. You need the tiny stubby ones here!
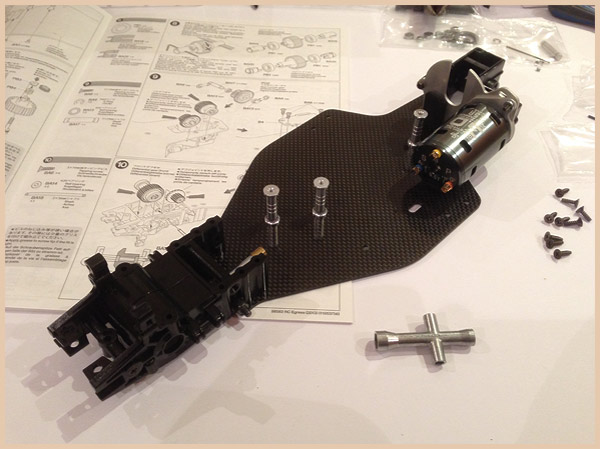
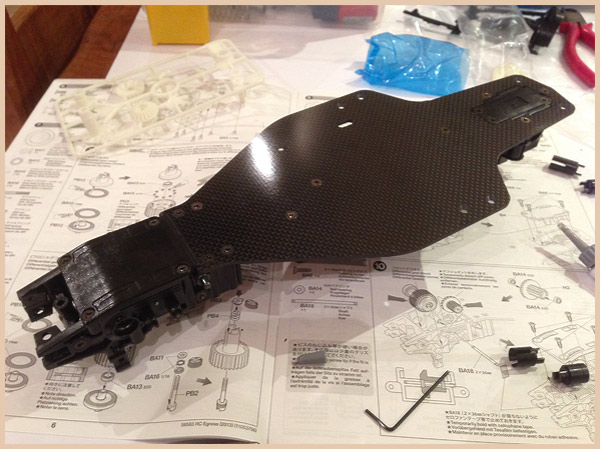
Phwoar! Box fresh carbon chassis! All my vintages have some degree of wear here and there, so seeing a clean, fresh new plate like this was rather special…it’s going to be dirty soon so I’m going to enjoy this while I can! Again, everything is slotting/screwing together like a charm. Top job Tamiya!
Onto the front gearbox, nothing new to report here, but again, its damn nice to be building this from scratch and not soaking each of these pieces and scrubbing them clean ;)
Mounting the front geabox was a dream, nice and easy. Its already looking sexy!
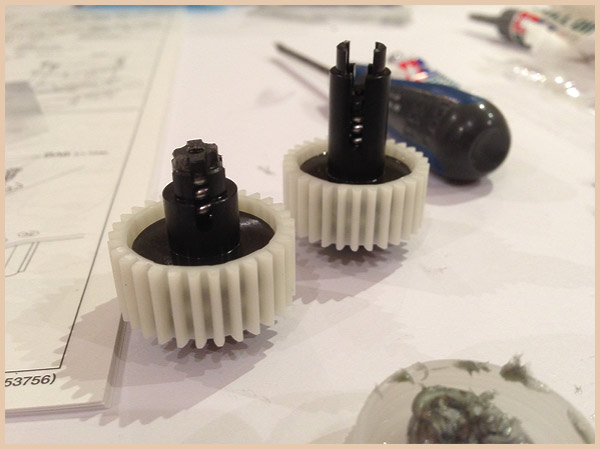
Front diff together. If you’re new to building cars like this, here’s one HANDY tip. Make sure you put a nice fat blob of diff grease in the whole where each tiny bearing is to be dropped in…why?…well, you ARE going to drop one, or two, or three while doing this, so it makes life a lot easier if there is a blob of grease in place to catch them as they drop. Also, make sure you have a clear open space when doing this bit, as when a ball bearing brakes loose, its near impossible to find if your build space isn’t super clean.
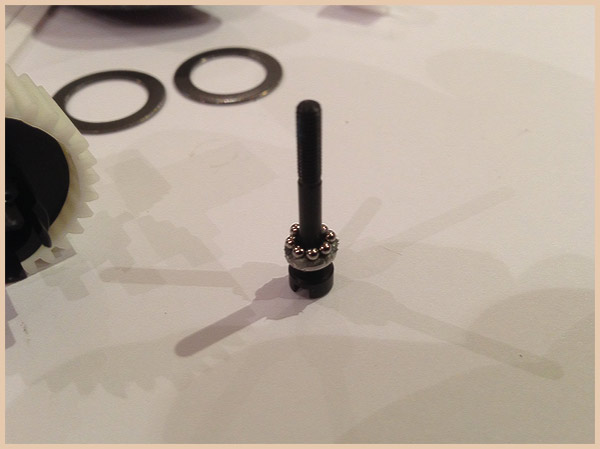
Now, this bit is a seriously intricate bit. These bearings look big right? Wrong, I’m zoomed in. These little spawns of Satan are crumb sized. Drop one and its gone forever. The end.
Tamiya advises you to put some anti-wear grease on the washer…sod that…pile it on! You need a good thick cushion of the stuff as if you have even remotely adult hands/fingers, you can barely feel these bearings, never mind skilfully guide where they are going. Slap a load of grease on, and drop each one on. Once all on, use a toothpick to adjust their positioning. And once that’s done, slap some more grease on the underside of the top washer and make a bearing sandwich. Just be careful that none of the bearings push out as you squeeze the two washers together. I then used my finger to smooth the excess grease around the bearings for an additional level of security.
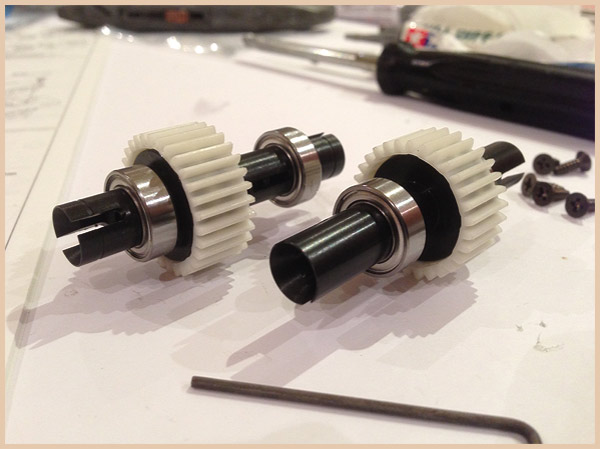
Both front and back diffs together. They just need tightening to finish.
Awwww what a lovely couple. The two finished diff’s all built and complete. These are quite different from the vintage diff’s, almost all the parts bar the plastic gears are new, but man, they feel like they are made from adamantium, so I doubt they’re going to wear any time soon.
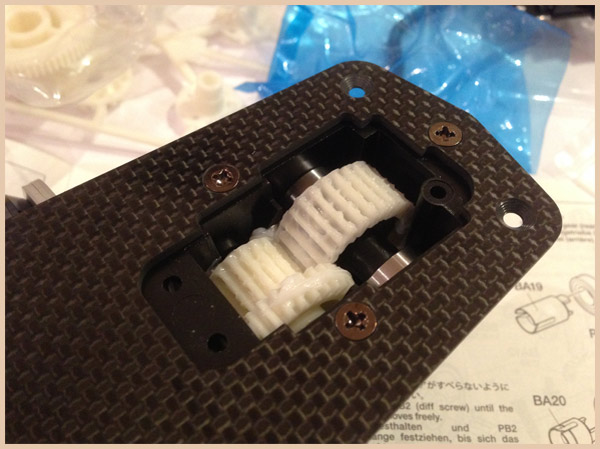
I know this sounds sad, but seeing a minty fresh rear gearbox enclosure like this is heart-warming. You beauty.
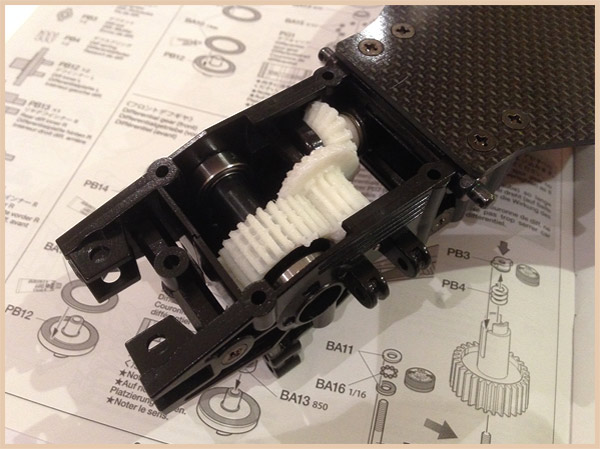
And the same again at the front. And yes, I went to town on the grease as I’m going brushless…I don’t want to melt these little lovelies.
And the last step for tonight is closing those finalised gearboxes. Another thing worth mentioning is how perfectly the plastics are cast. That rear gearbox plate just dropped in place to a perfectly snug fit. Serious quality.
More to come tomorrow!
Mike.
Mike B
March 30th, 2014 at 10:19 am
Very nice and clean build so far. Grease up the gears when going brushless.
Gamepuppy
February 20th, 2014 at 10:37 am
Hoorah! ...At last I got a proper response from Tamiya! Feel free to delete my previous posts regarding my re-re Egress diff problem as further poking of the Nippon King has resulted in them agreeing to my original assessment that the front diff part in my kit was indeed faulty. First ever miss-machined part in a Tamiya kit for me but WOW!, trying to get them to acknowledge the fact took some effort. They said it may take a few weeks for the part to arrive but when it does I can then finally finish building it and start having a bit of fun. Enjoy!
Gamepuppy
February 5th, 2014 at 5:11 pm
Hi Mike, I've still not been able to solve the front diff problem I'm having with my new re-re Egress. To summarise, I'm well versed in building Tamiya kits and I've never had a problem with any I've built over many years but having bought the new re-re Egress to build over the Christmas holiday I came to put the two diffs together and immediately noticed a problem with the blister pack part PB14 'Front Diff Inner R'. Looking at the flat round base end where the BA10 washer sits, I noticed PB13 had a circular recess to accommodate the two BA13 bearings that the manual (Step 7) tells you to slip onto the stem of part PB12 that then comes through the PG1 spur gear to close up the diff holding the eight BA15 bearings between the two BA10 thrust washers, the PB12 Diff Inner L and the PB13 Rear Diff Inner R. When it came time to assemble the Front Diff the manual (Step 7) tells you to do this one exactly the same as you've just done for the Rear Diff but when I tried to finish the job of closing up the diff, part PB14 Front Inner Diff R wouldn't allow me to as there was nowhere for the two BA15 bearings sat atop of part PB12 to go!?! After triple-reading the manual to make sure I was doing it right, I'm totally at a loss as to what I should do next. I've been on to the retailer who sold me the kit and showed him a couple of photographs of the offending parts and they agreed it looked like a manufacturer's error and so they contacted Tamiya on my behalf, forwarding my e-mail containing the images showing a close-up of the problem. Tamiya's reply was simply 'We have scratched our heads, but cannot see what problem you're having... ...Maybe your customer is not following the instructions properly?'. Brilliant! why didn't I think of that!?! ...Thanks Tamiya, NOT! So, seemingly left with a very expensive but half-assembled kit, I'm just writing to you again to ask if it is at all possible that the next time you (or anyone else you know with a new re-re Egress kit) open up a re-re Egress could you please take a look to see if the part PB14 has a similar recess to accommodate the two bearings that sit atop of PB12 like part PB13 does? I apologise in advance for any inconvenience this may cause you or your fellow builders but other than buy a new kit to check out the part myself I might have to find an engineering company to mill out what I believe maybe a duff part! Thanks for your time, Enjoy!
EgressMadMike
January 6th, 2014 at 10:06 am
@gamepuppy - Hey! I'm not sure off the top of my head where the issue lies here. I don't recall any issues with any parts and my diff's went together super smoothly. I'll dig the box out of the loft when I get a second and see if I can see where your issue is. It might be worth backtracking and seeing if you've missed anything or used a wrong part? I've built 8 cars on this chassis now and still managed to get a couple of bits mixed up on this build lol.
Gamepuppy
January 2nd, 2014 at 11:43 am
Building mine over the holidays I came to put the front & rear diffs together and found the PB14 Front diff Inner R blister pack part had no milled recess to accommodate the two bearings inside the diff, meaning when you try to assemble it there is a big gap allowing all the loose bearings to fall out the moment you tried rotating it!?! Any idea what I'm doing wrong or do I have a duff part? (not something I've ever had with a Tamiya kit)... Great Website!
EgressMadMike
December 31st, 2013 at 4:33 pm
@Paul A - I think its made across a few countries based on the recent shortage and the hurricane in the Philippines. I think the core of the car is made in Japan, but some crucial parts, like the bodyshell are rumoured to be made elsewhere. The quality is top draw though. I've built about 30 Tamiya's to date and this was, hands down, the finest build I've experienced. Its superb quality throughout.
Paul A
December 27th, 2013 at 6:01 am
Hi, Is this New Tamiya Egress 2013 fully Made in Japan or China? The Box written Made in Japan? Thanks
EgressMadMike
November 27th, 2013 at 10:04 am
Thanks man!
tehsuen
November 25th, 2013 at 3:28 pm
Nice car!!!



COMMENTS