
27 Nov
2013
Hey Everyone!
I’ve been getting loads of great feedback about this build, glad you’re all enjoying it! I certainly am ;)
Ok, build part 2…
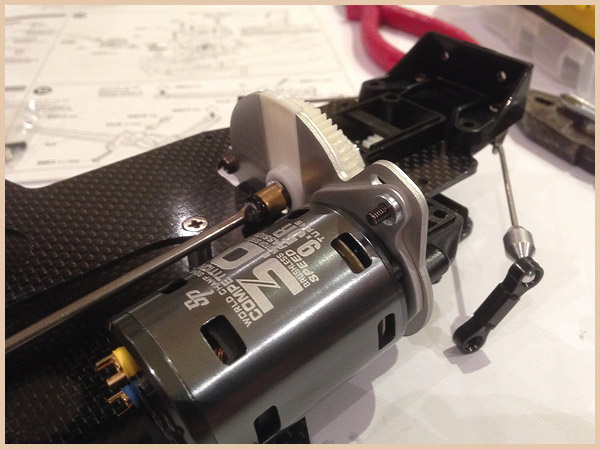
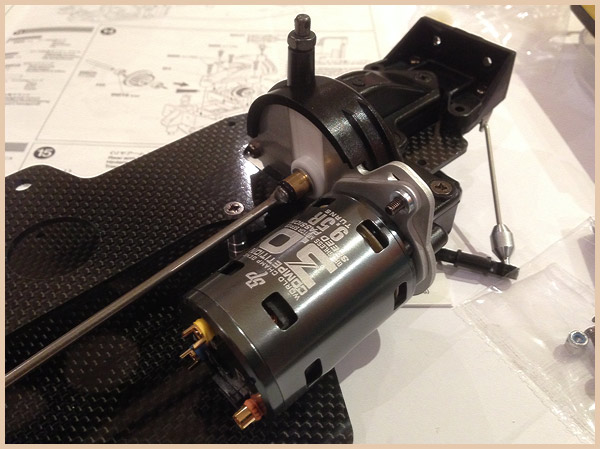
So, first up was the spur gear and torque splitter set up. I opted for the torque splitter due to going brushless, but not being great with this modern technical lark, I’m hoping that’s the best move. There were a couple of new bits used in this over the original, namely the rubber end seen here. Sure feels nice fitting this together.
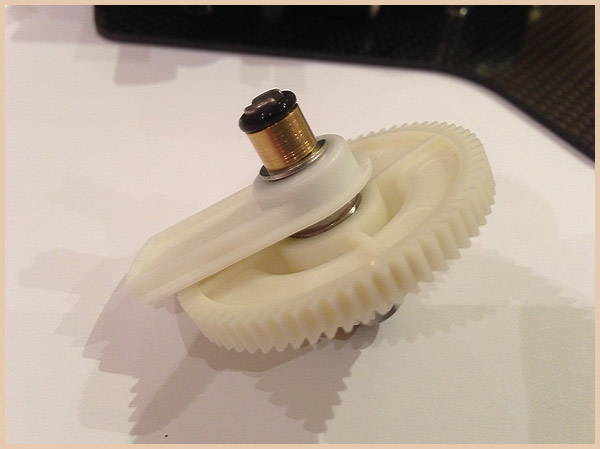
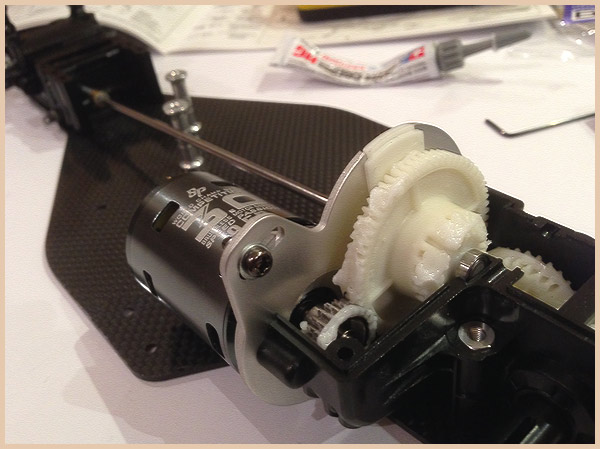
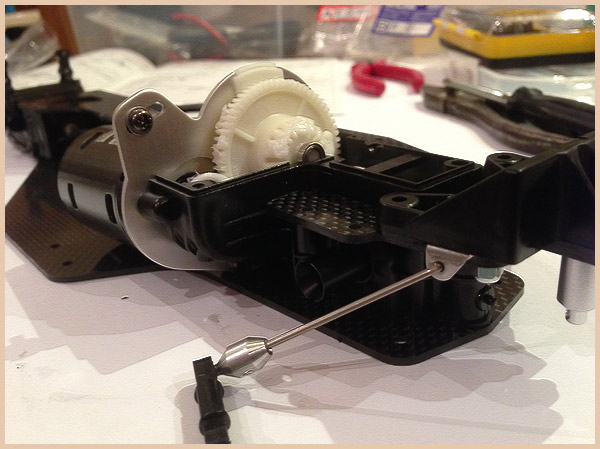
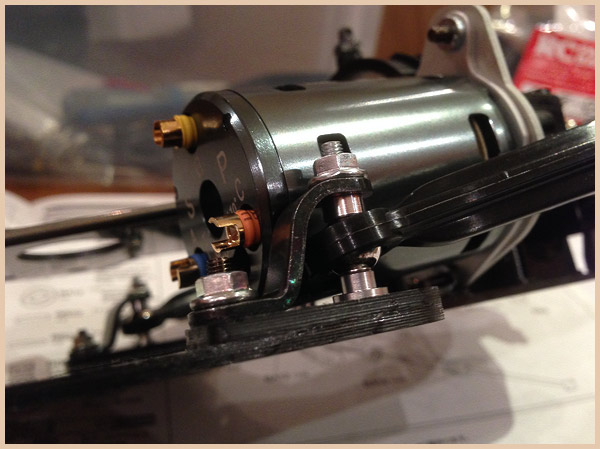
Installed and ready for the gearbox cover. I had to reverse the pinion gear here as when installed the way Tamiya advised, it was only getting traction with 50% of the spur. But I’m guessing that advice was based around Tamiya motors. Loads of grease again due to going brushless.
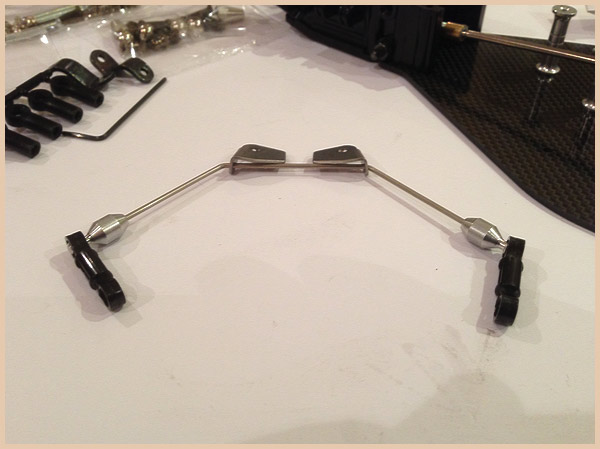
Onto the rear sway bar. Well, I can officially say that this is the first time I’ve built one of these and NOT had to get the Autosol/Peak on it. Nice and shiny, nice and new :)
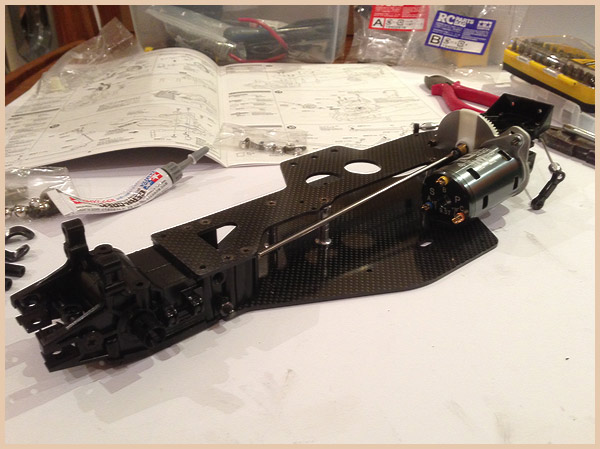
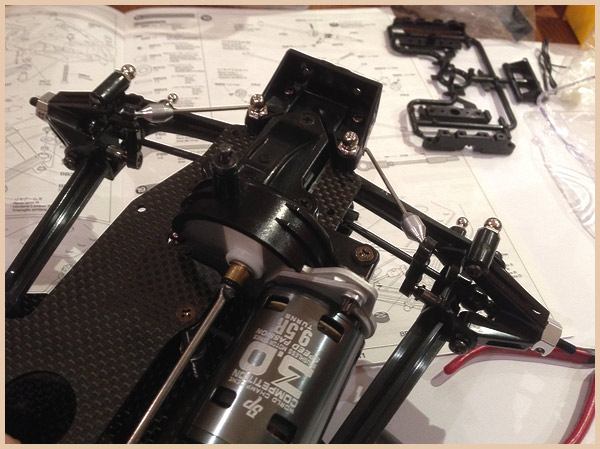
Fitted and looking more and more like an Egress with every step.
Little close up…
And a booty shot…
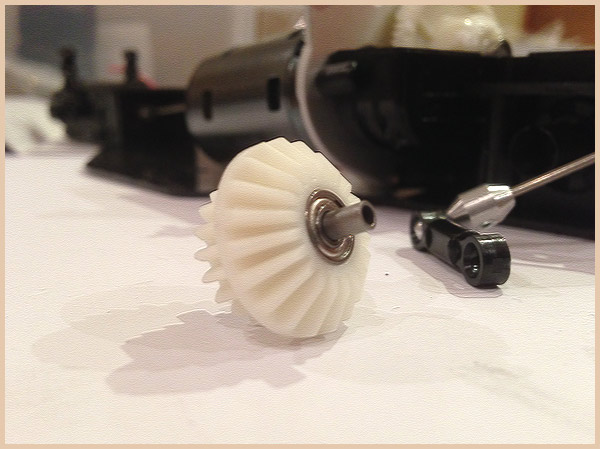
The last gear assembly for the rear gearbox. No change here, all as original.
Rear gearbox casing fitted. Note to all Egress newbies, DON’T over-tighten the screw closest to the motor as it cracks the casing. This is something you find on about 70% of vintage models.
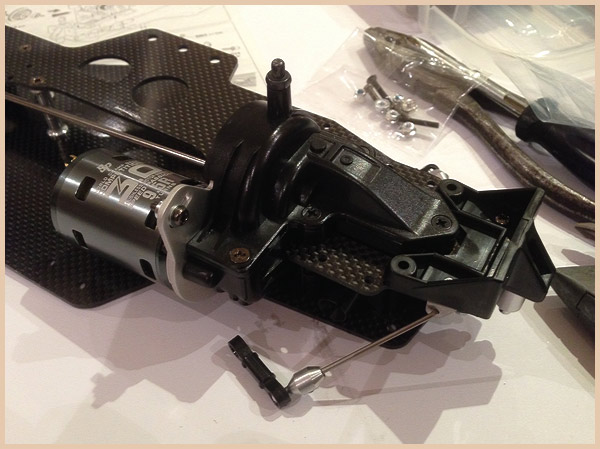
Another angle of the fitted cover…
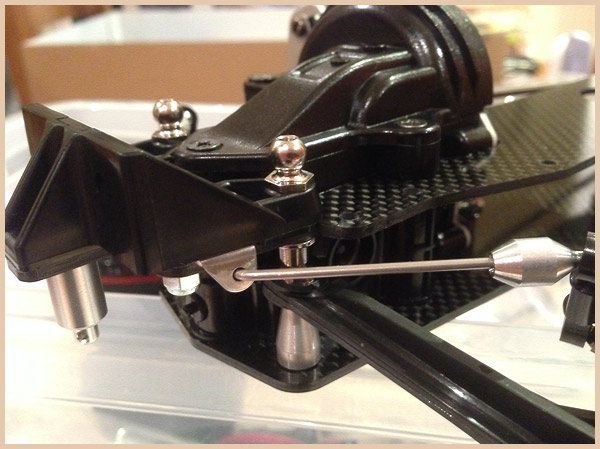
Onto the rear swing arms (is that the right name? Not sure). They feel bulletproof now. Nice work Tamiya.
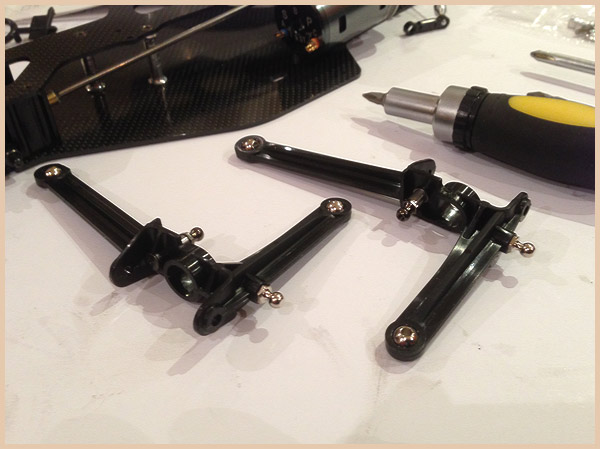
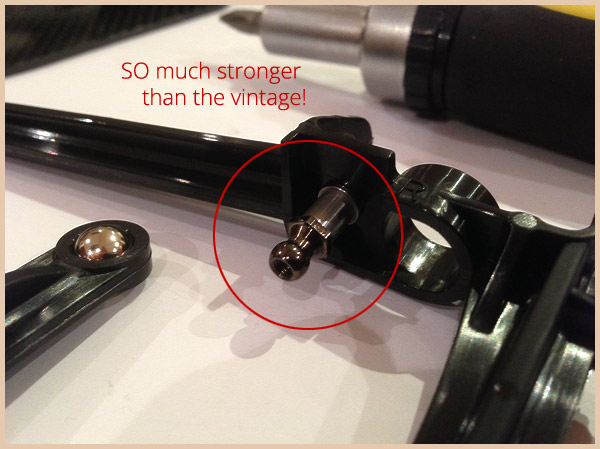
This completely new design is fantastic! The vintage one was quite weak, but this is great. A flat headed screw comes in from the other side of the arm, through a chunky spacer and then into this ball end. Its ROCK solid, well impressed.
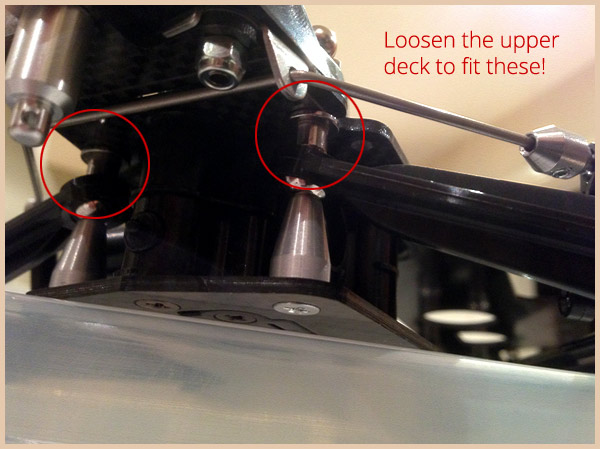
Now, word of warning folks. THIS WAS A COMPLETE BASTARD. If you follow the instructions, you’ll be here all day, all night and for the rest of your life trying to slide those demonic little spacers in. Basically, its too tight as they are microscopically bigger than the vintage ones. Stronger, but slightly bigger. I spent 20 mins trying to squeeze one in…every time it popped out and hit the floor, grrrr. I resorted to loosening the rear gearbox cover a few turns to give a few mm play in the top deck. With that done, they slid in as easily as the vintage ones. Just remember to tighten those screws back up after!
Another angle…again…Gotta say, feels like its built like a tank.
And another angle…

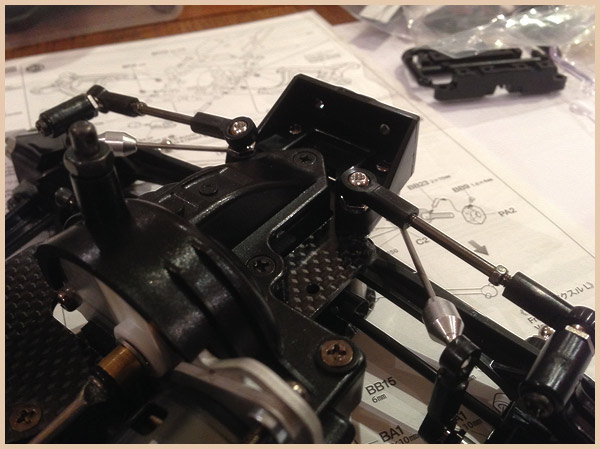
Close up of the new braces taken from the 2001. Great addition Mr Tamiya! A couple of new spacers in there too, all very nice.

Close up again…
And another angle…
I forgot to photograph the drive shafts as I made them, oops. They’re all new too, every last element of them, as are these looooovely new hubs. Light as a feather these!
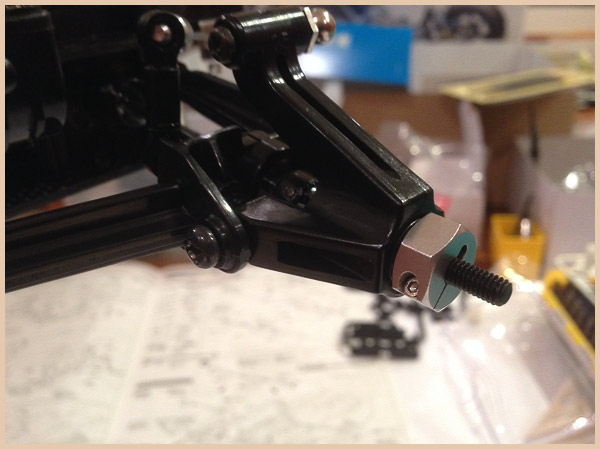
Rear adjustable arms made and fitted. Again, feel totally rock solid.
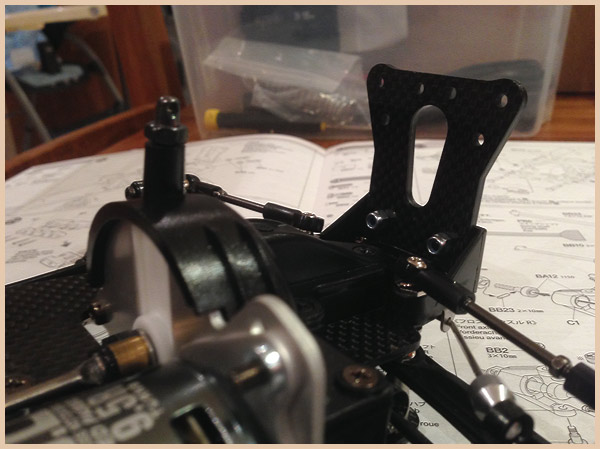
And to finish for tonight, the all new thick, carbon rear shock mount. Feels like I could slam this into a wall and it’d not flinch. So well built.
Somebody asked either via email, Tamiya Club or a comment (cant remember which) if I’d sealed the chassis, the answer is yes, both decs, chassis spacers and shock mounts. I just use Humbrol instant cement and a fine modelling brush. Seems to work for me.
Ok that’s it for today! More to come soon.
Mike.
Leon T
March 8th, 2018 at 3:02 pm
Just want to say thanks for your brilliant informative site. I had the same issue where I bought what was advertised as an Egress off Ebay about 5 years ago. It turned out to be an Avante 2001 with Egress parts. I was about to convert it to a proper Egress but decided on building a new Egress 2013 with parts from ebay, tamico, pargu, etc. It didn't cost £450 which is the going rate for the next batch of Tamiya Egress re-re's!
EgressMadMike
January 19th, 2017 at 1:07 pm
Hi Gabriel, I just used the stock pinions with mine and they worked great. I'm no racer so it may not be right for everyone, but for general use its worked just fine for me. Thanks.
Gabriel Chua
January 15th, 2017 at 3:08 pm
Hi, may i know what teeth pinion gear is a good starting point for a brushless 9.5t and 10.5t motor? Also, the pinion is 0.6 mod pinion right? Thanks!
EgressMadMike
December 3rd, 2013 at 10:07 am
Nice Avante 2011 Adam! I've got one of these bad boys too. I bought it second hand but never run...only to find that the diffs felt ULTRA tight. I opened the rear gearbox only to discover that the previous owner had stuffed the ENTIRE gearbox and diff with anti-wear grease! You know, the silver stuff that is as thick as Marmite! Needless to say, its been sat for ages awaiting a strip down and re-build. Boooooooo.
EgressMadMike
December 3rd, 2013 at 10:04 am
Hey Adam, no idea I'm afraid. I've been building/restoring RC cars for donkeys years, but never got into the set-up stuff. I just leave everything stock in my cars. If I was a racer I'm sure I'd have got into it, but I don't believe that there is even a single club/track in the north of England. Sad really as there used to be loads when I was a kid.
EgressMadMike
December 3rd, 2013 at 10:02 am
Yeah I've gone stock with the gears. I'll see how it performs, but I'm guessing I'll be leaving it as is. I only play around on and off-road, no racing, so particular set ups don't make a huge difference to how I drive :)
jamie
November 30th, 2013 at 2:59 pm
did you use the stock gears that came with the kit?
Adam T
November 30th, 2013 at 8:01 am
I have pre-ordered an egress, and am planning to put a super stock rz motor in it. I think I need a 25 pinion and 55 spur gear or with 23 pinion and 58 spur gear. Can someone help me out here, I'm not sure what to do. I live in England.
AdamC
November 29th, 2013 at 8:12 am
Part 3! :) Delays suck but I've waited for 30 odd years, what's a couple of weeks? Here's a pic of my 2011 Avante to egg you on. http://i1290.photobucket.com/albums/b524/adam_currie1/IMG_1934_zps59d63c5e.jpg Now all I need is a black beaties bag, no chance finding one now I live in Australia though.

COMMENTS